The At-Home Hair Color Hack That Saves Your Overgrown Highlights.

Raise your hand if you got salon highlights pre social distancing and don’t know what to do with them at home (I think we might all have two arms up right now). Don’t worry, our salon experts gave us the inside scoop on how to handle highlighted hair with ever-growing dark and/or grey roots. Even better, you only need Root Erase! Two words: hair smudging, AKA root smudging. If you’re looking to get the most out of your few-month-old salon highlights, without touching them up of course, this is for you.
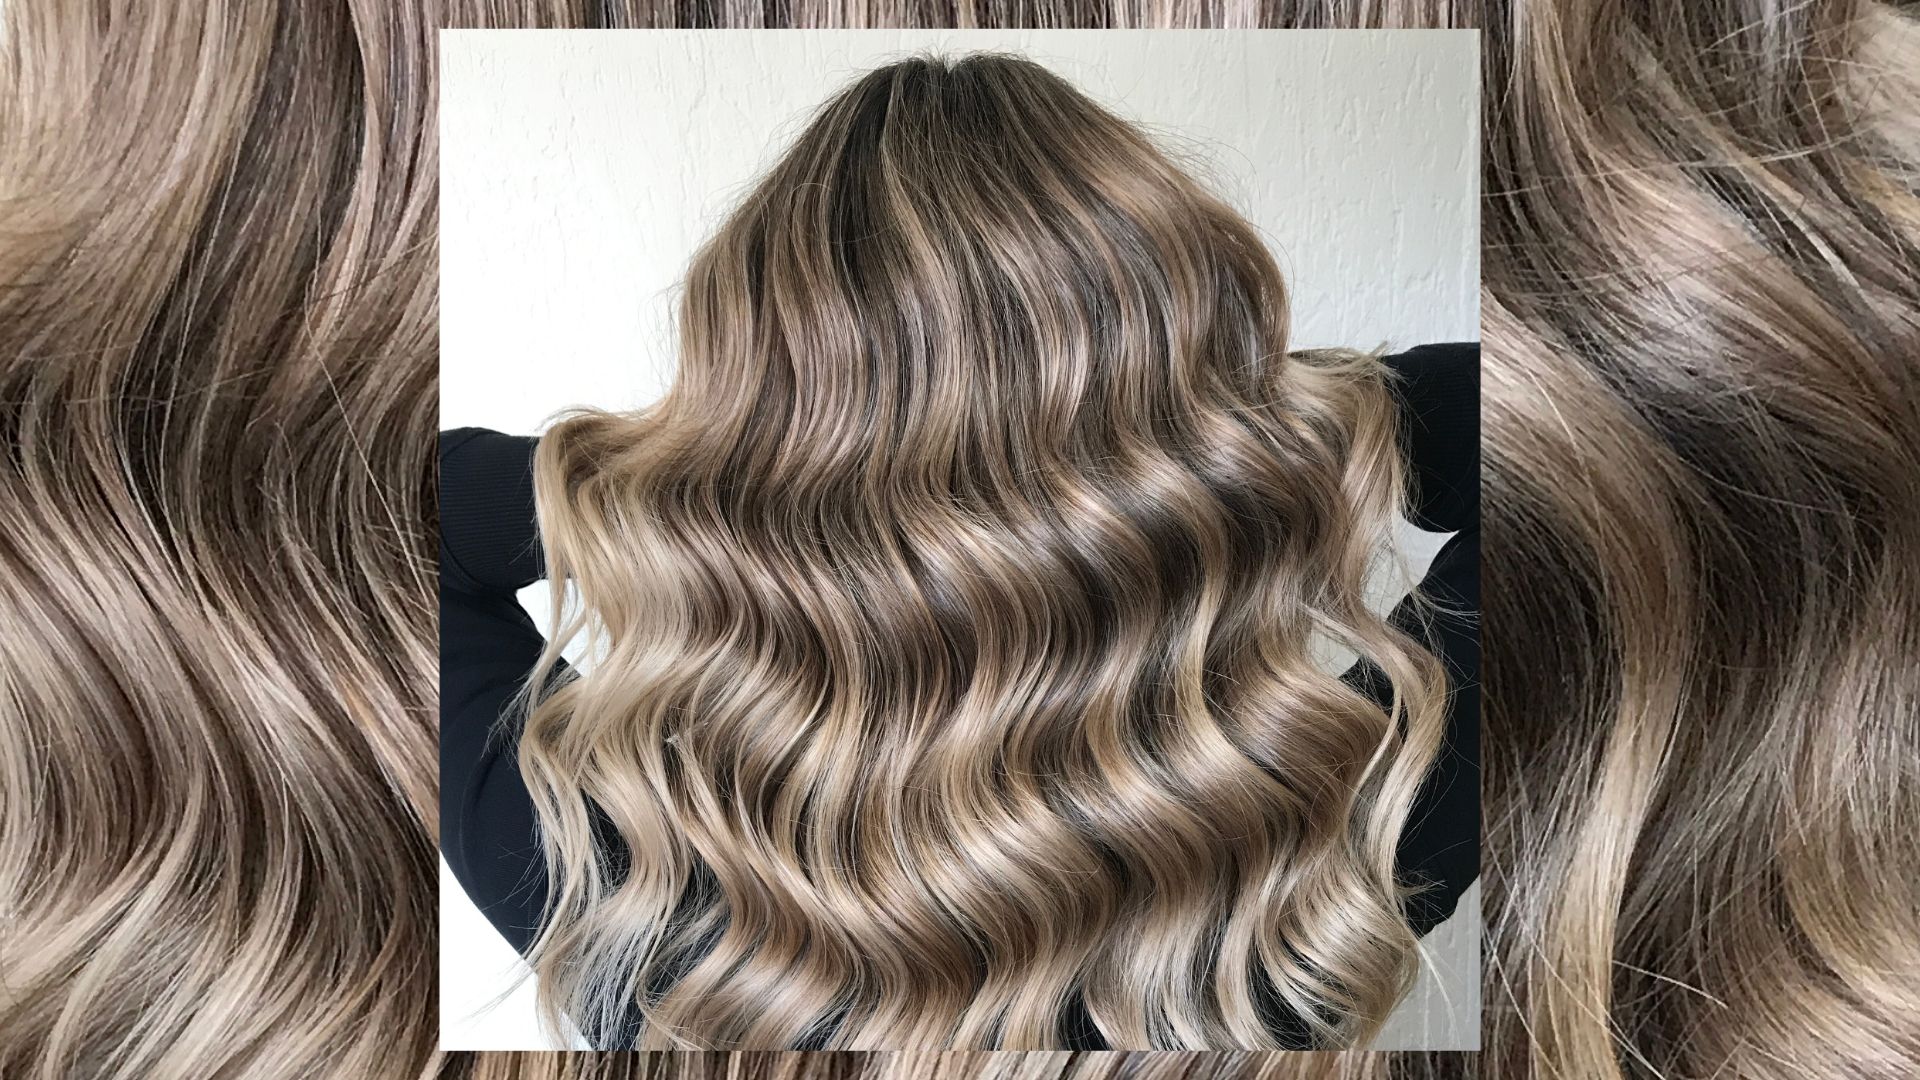
So you might be asking, “what’s hair smudging?” It’s exactly what it sounds like: a hair color technique that creates a ‘root shadow’ by dabbing a slightly lighter hair color to your roots, resulting in fully covered roots and a seamless blend from root to highlight. You may have also heard of its sister style, root melt, which makes it look like your root hair color is melting into the ends of your hair. Hair smudging is less dramatic than a root melt, and just adds a slight shadow effect to your root color (hence the technique’s other moniker, shadow root). It’s a super simple way to DIY hair color at home and really hard to mess up, see for yourself...
- Find your shade. For this look you’ll want to find a shade that is similar to your natural root color and only 1-2 levels lighter than your natural base color. If you have mostly gray roots, pick a color with more warm or red tones. Few to zero grey hairs? You can pick up an ashy or cool toned formula instead. With these considerations in mind, you can easily use our tool to find your perfect shade of Root Erase!
- Smudge with confidence. Prepare the Root Erase hair color per the instructions included in the box. When you have your shade mixed and ready to apply, take the included applicator brush and pick up some of the hair color. Part your hair as usual, and ‘smudge’ the hair color onto your roots along your natural part so that it covers 1” of your root hairs. Continue to apply the hair color to your roots in layers, about every ¼” along the hairline, to thoroughly cover all root hairs.
- Create the root shadow. Make sure you’ve got your gloves for this next step (there’s 3 pairs included in the box!) Grab a section of hair and ‘pull’ the freshly applied color from your roots down, stopping just as your highlights start. The length you “pull” the color will depend on your existing highlights. Around .5” should be standard, but there’s no right or wrong here. Repeat this step until the top 1.5” of your roots are covered with the formula. This blends the smudge color with your existing highlighted hair for a seamless finish.
- Let it set. Set your timer and leave the color for 5 to 10 minutes (you may want to add additional time for stubborn grey hairs). When time is up, rinse, condition and style as usual.
- Flaunt your freshly smudged root shadow. Now that your days of dark roots and greys are behind you, take your new salon-worthy hair straight to your next video call—shhhh we won’t tell your colorist!
